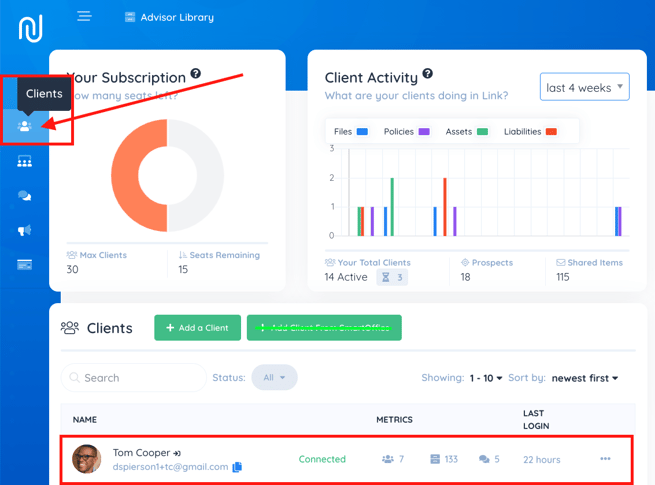
- Locate the client that you wish to add a document about from the "Clients" tab on the navigation bar or on your home dashboard. Select that client.
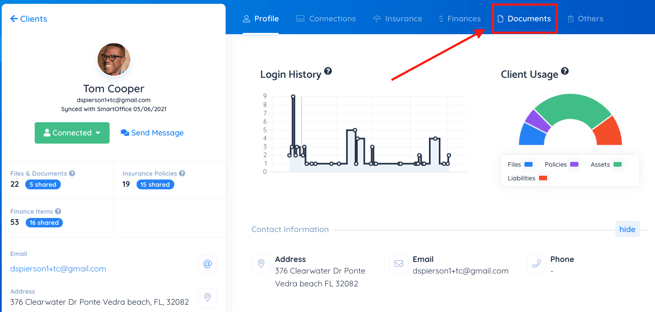
- Once you are on their dashboard, click the "Documents" tab.
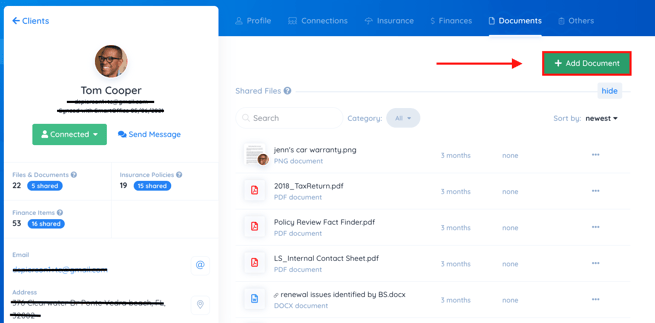
- You can add a file or document using the green “Add Document” button in the top right corner of the page.
- Drag and drop the files or documents you'd like to associate with your client or press "Choose a file" to upload it from your computer. You can add multiple documents at once.

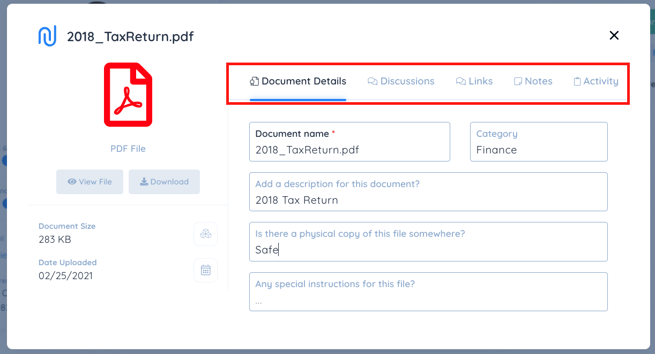
NOTE: Once you have chosen the document you want to add for the client, you will be able to add document details, add a discussion to the document, link the document to related items, and add notes to the document. - Once you have added the document you can add more information about the specific document, such as details, notes, or a discussion. When done you can either share it with the client or keep the document private. If you decide not to share you can always share it at a later time.
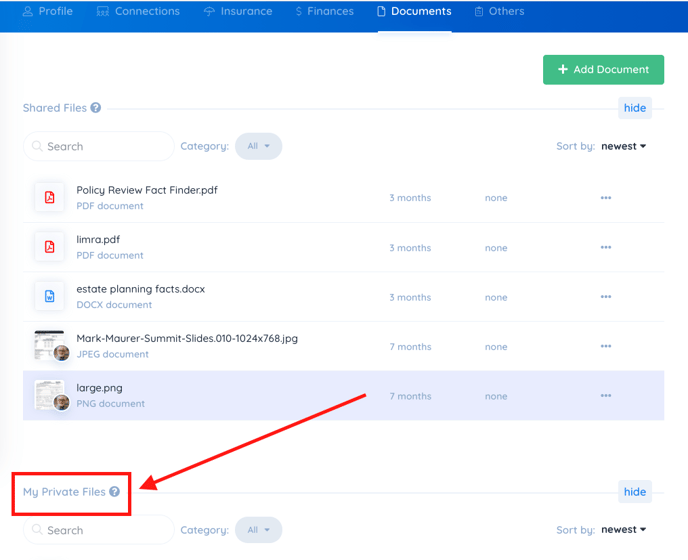
- To share the document, scroll down on the Documents tab until you see "My Private Files."
- Press the blue button that says "Share" to send it to your client.
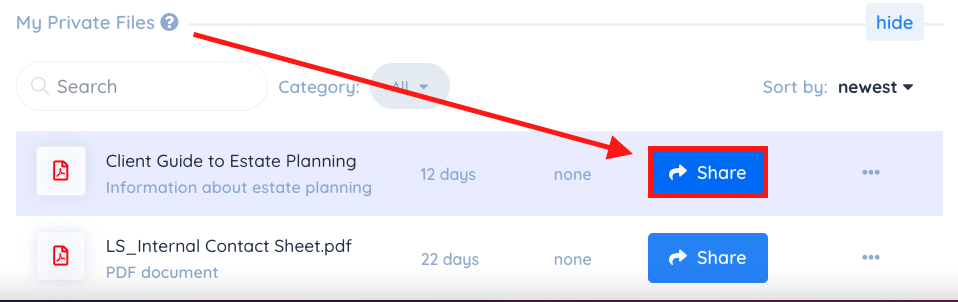
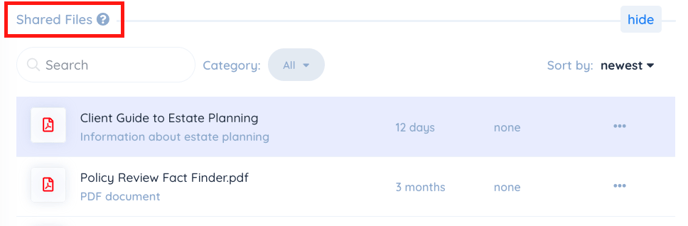
- The document will be moved to the above category labeled "Shared Files."